This step-by-step procedure shall guide you to identify good stereo matching parameters for your respective scene. You can click the images on the left so see a larger screenshot or a short animation for each step.
Capture Settings
Open the NxView parameter dialog and switch to the General tab.
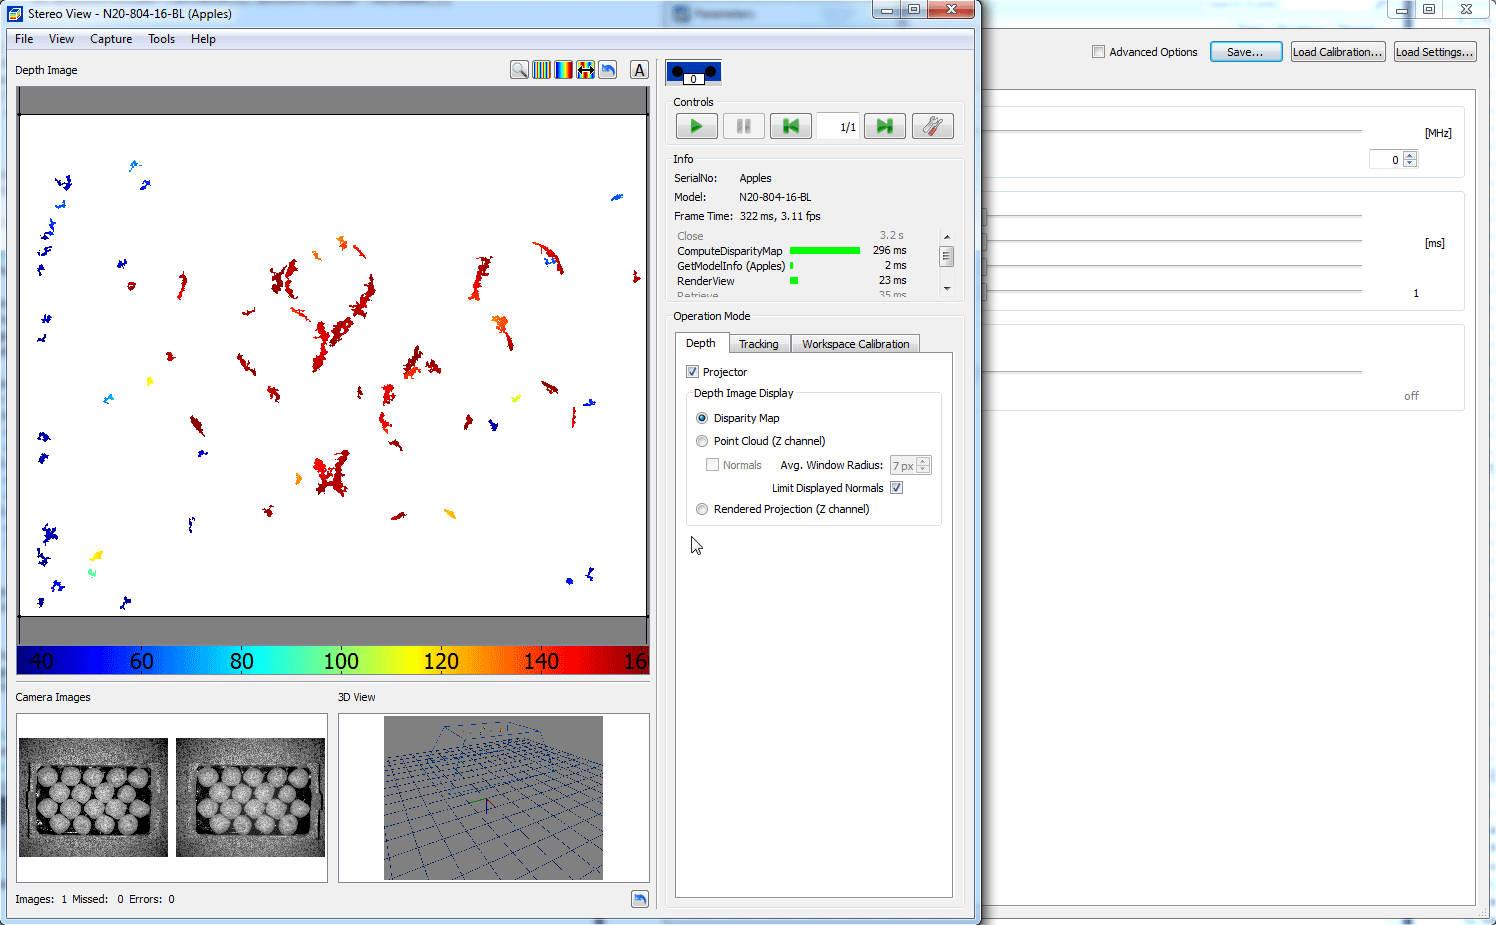
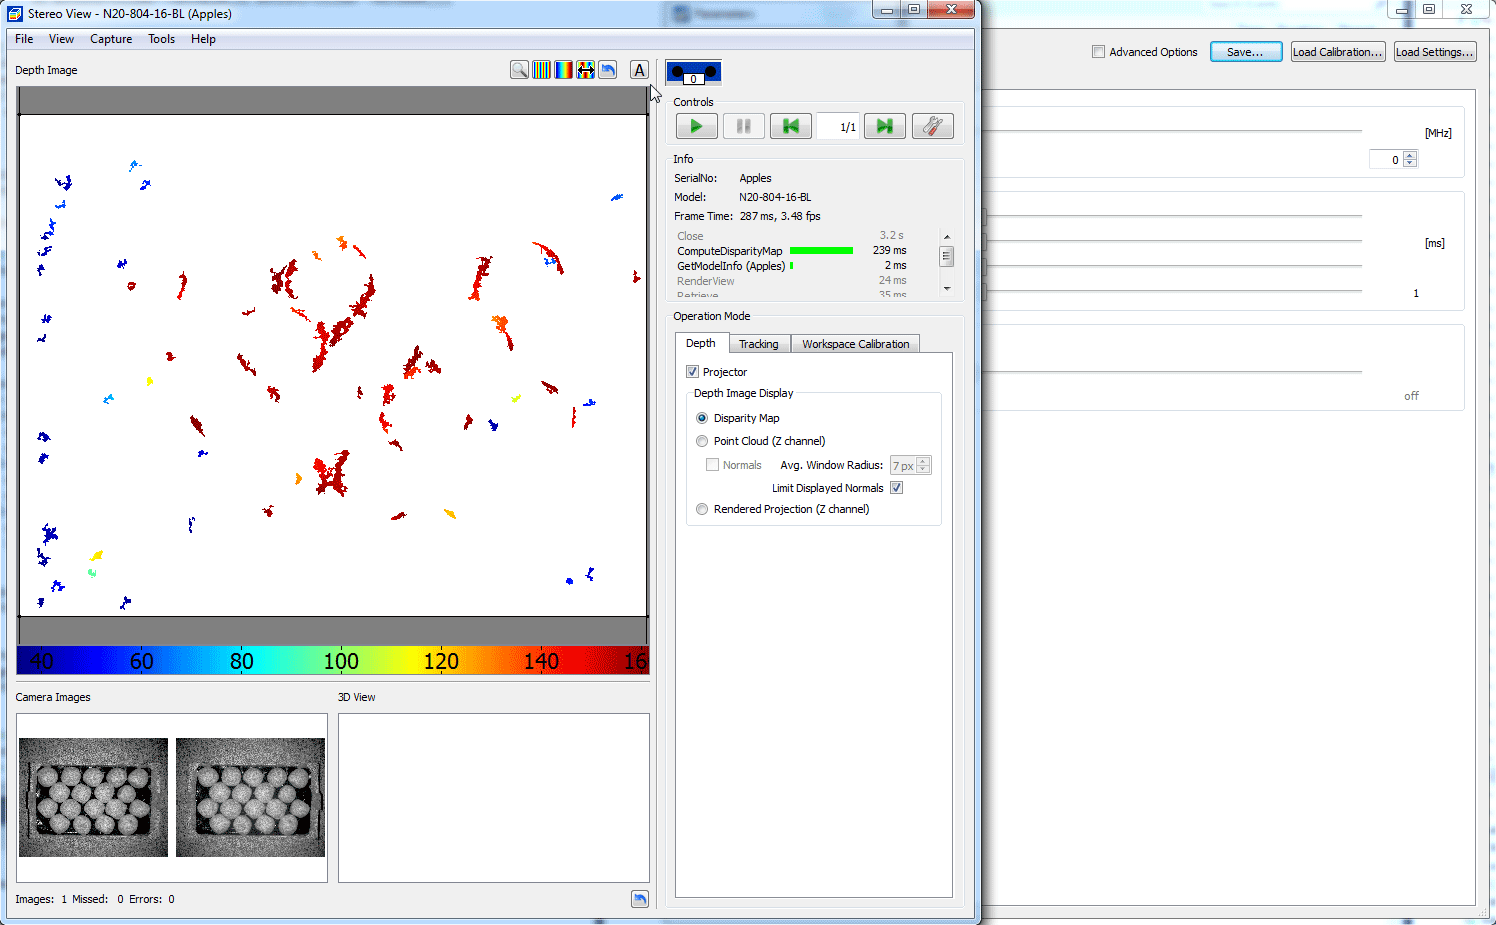
1.Adjusting capture settings oAdjust the Target Brightness value such that you get a high contrast of the projected pattern in the camera images oIt might be helpful to adjust the position or orientation of your camera or object in order to maximize projection contrast oReducing ambient light also helps to improve image contrast and thus data quality in later steps 2.Enable FlexView oIf you observe a static scene and are using an N35 or X36 camera you can enable FlexView image acquisition. If you camera supports this capture mode set the FlexView image count slider to 8 or 16. Higher image counts take longer capture time but produce better 3D data quality. |

Note: Very long exposure times may lead to variable illumination or trigger delays. Please also read the illumination topic for your camera model.
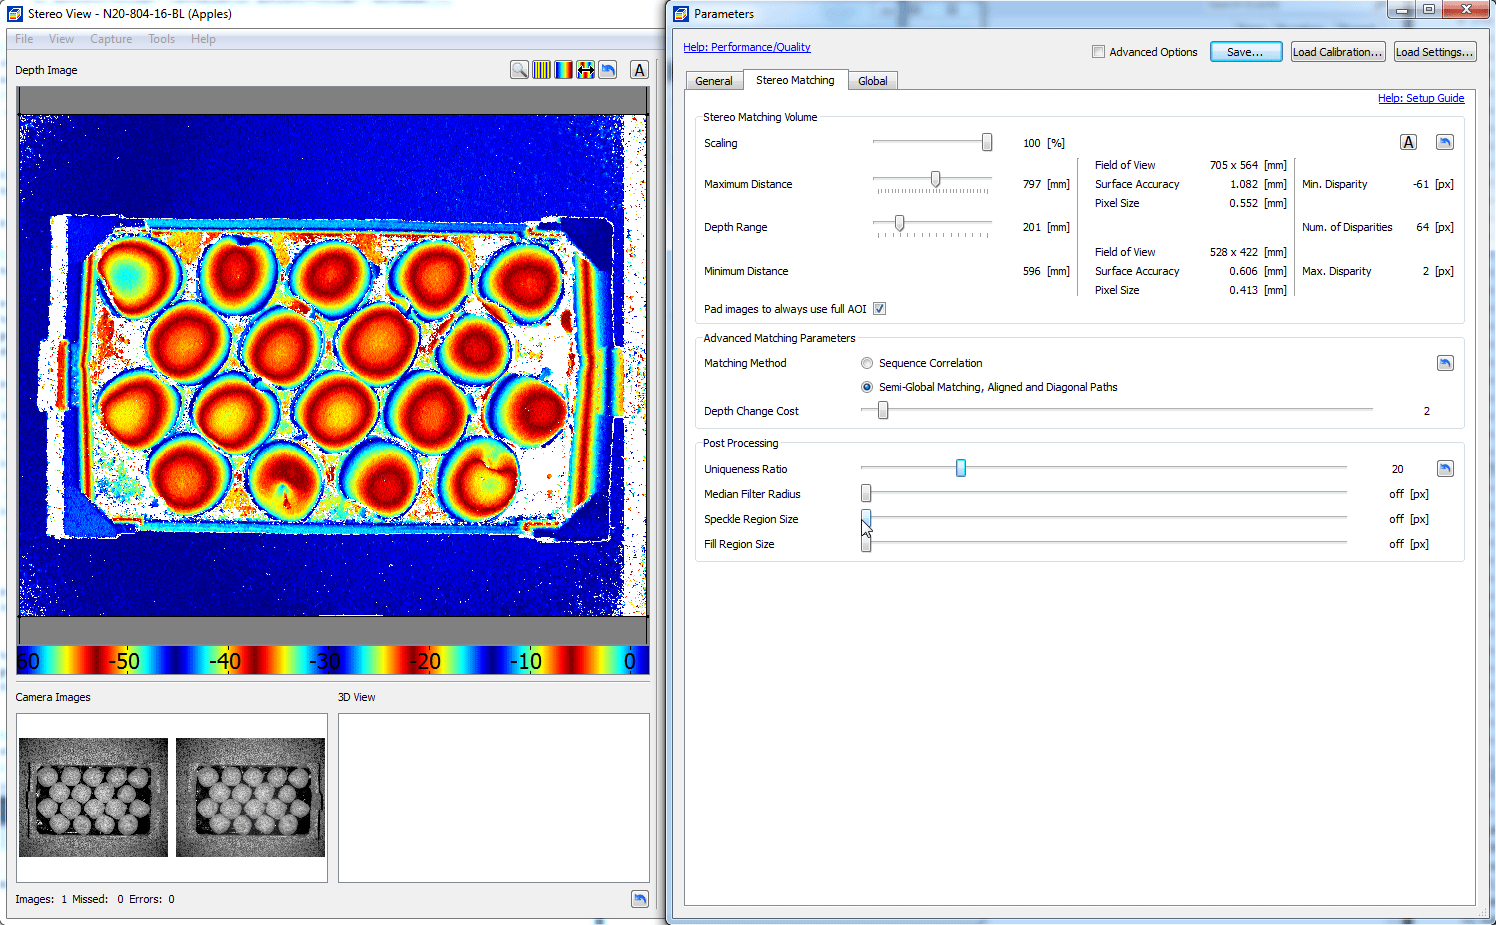
Stereo Matching Volume
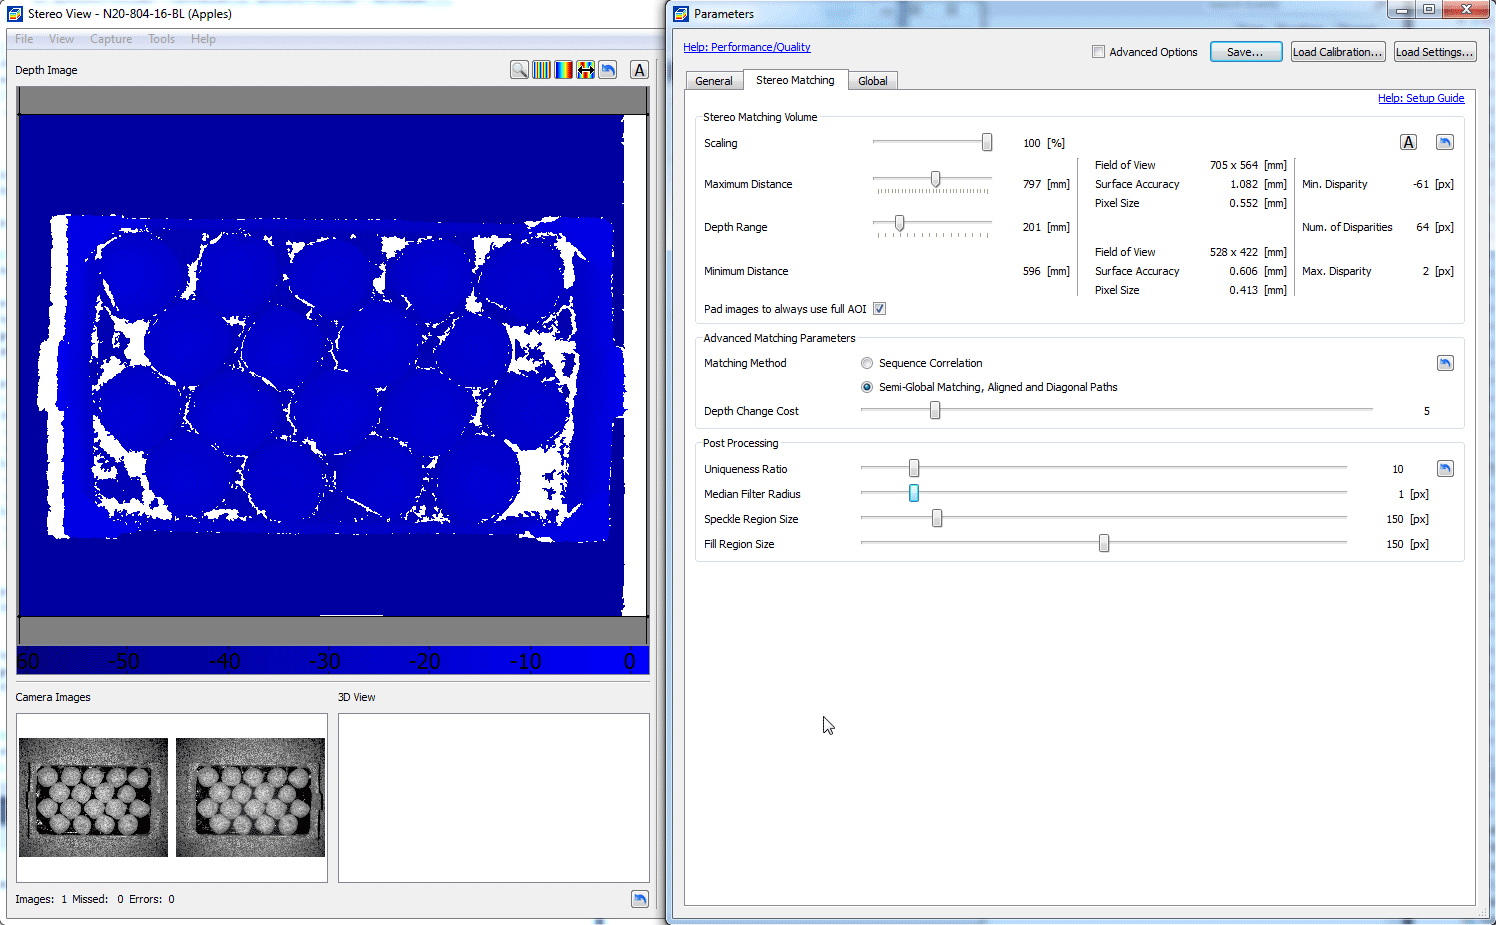
1.Adjust measurement range oClick the "A" button above the depth image view to automatically guess the depth range |
|
oIf auto adjustment of measurement range doesn't produce suitable results go to the properties dialog and adjust the measurement range manually |


Stereo Matching Parameters
Depending on the scene, the reconstruction with the default parameters may be incomplete or noisy. To maximize correctly reconstructed depth information you can adjust the parameters in the following systematic fashion:
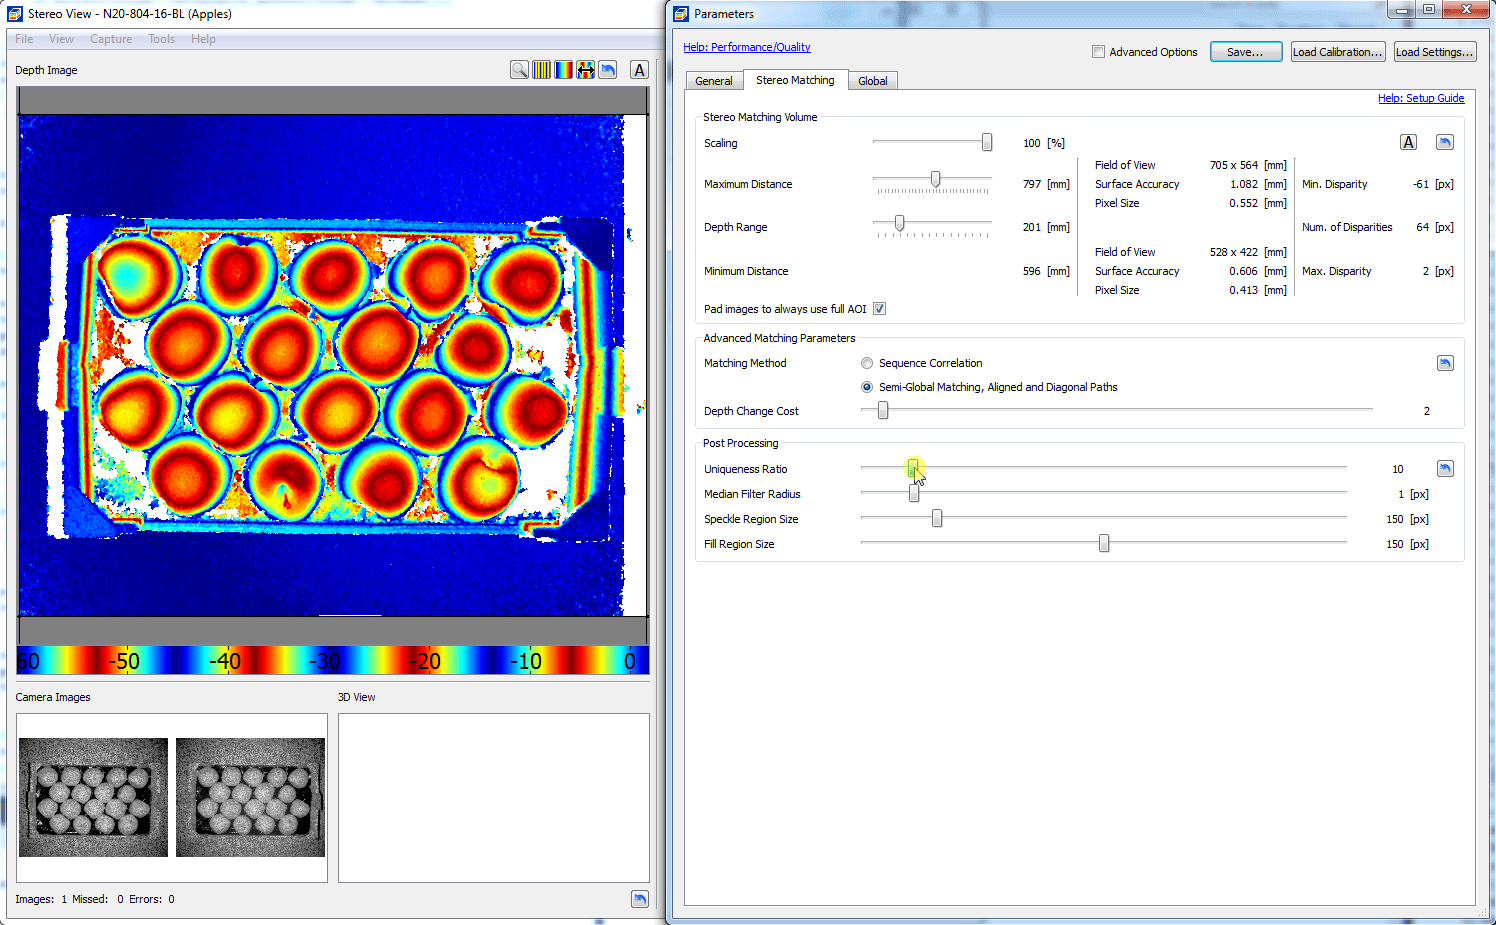
1.Select matching method oIf you are using FlexView with many images (> 10) you will like get best results using the "Sequence Correlation" method oOtherwise choose "Semi Global Matching" |
|
1.When using "Semi Global Matching" you need to select the Depth Change Cost parameter oHigher change cost results in less visible Z-noise, but can degrade the reproduction of steeply slanted surfaces in the depth data oLower change cost produces better Z-linearity in subpixel interpolation and deals better with steep surfaces while producing visibly more noise |


Post Processing
1.Turn all post processing options off |
|
1.Increase Uniqueness Ratio until interesting object parts start to get filtered. 2.Decrease Uniqueness Ratio until surfaces of interest begin to be complete again |
|
1.Increase Speckle Region Size to filter out small isolated areas |
|
1.(optional) Increase Filling Region Size to fill small gaps with constant Z-value. This is only recommended for visualization. When processing 3D data e.g. for searching CAD models filling should be switched off. |
|
1.Increase Median Filter Radius to reduce noise while preserving sharp edges. 2.Decrease filter size again when important details start to get smoothed |


