Using File Cameras
Starting from EnsensoSDK 2.1, NxView and the NxLib API support file cameras. A file camera simulates a hardware camera from saved images and a corresponding calibration file and can be opened just like a hardware camera.
Note
Only signed images can be used in a file camera without requiring an additional license. Unsigned images cannot be displayed in NxView. Images are signed if they are from a hardware camera and got saved as explained below.
Note
Make sure to choose a unique serial number for your file camera which does not collide with any attached hardware camera.
Note
File cameras currently only work with png and tiff image formats.
Using File Cameras in NxView
Saving Image Data
There are two ways to save the data for a file camera from NxView:
Via save dialog
Create a zip file via
File→Save...→Raw Images/Raw Images As...containing a single image set.Capture and save again to add another image set to the same zip file.
Via record dialog
Save a sequence of image sets via
Capture→Recordor the recording button to a folder.Record again and further image sequences are saved to the same folder.
Check the
Subfoldercheckbox in theSequence Setupbox to create a new subfolder for each sequence.Check the
Subfoldercheckbox in the camera tabs to create a subfolder for each camera in the sequence subfolder.Note that images with the
Buffer in RAMoption enabled will not be signed.
Creating a File Camera
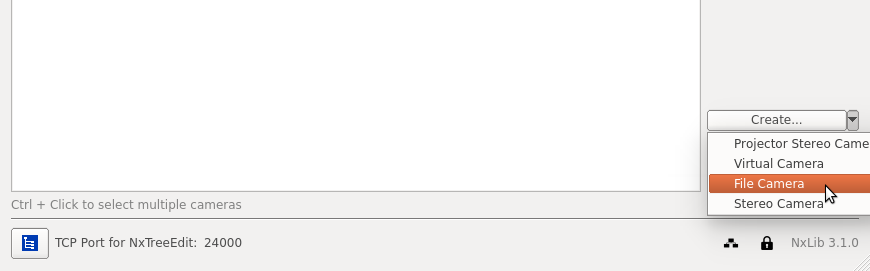
After you saved the necessary data sets into a folder or zip file you can open NxView and click Create... → File Camera.
In the following dialog you can select either the folder or zip file with your data sets and enter a serial number for the file camera. After clicking OK the camera will be created and is now available in your camera list.
You can also drag and drop the folder or zip file direcly onto the camera list to automatically open it as a file camera.
Note
A file camera that has been opened via drag and drop is not permanently added to the camera list.
Using File Cameras With the API
You can also create and use file cameras in your application.
Saving Image Data
To save the data for a file camera via the API create a folder and save one or more image sets to it. Each image set must consist of the following files:
The camera calibration file: must end in
_calib.jsonand contains a copy of the whole camera node as JSON.The image files: end in
_left.pngand_right.pngfor the left and right images respectively. Flex View images additionally contain a two-digit index before this ending (e.g._00_left.pngand_15_right.png). Use the SaveImage command to save the camera’s raw images to these files.
Use the SaveImage command to save camera images from your application, otherwise the images will not be signed.
The image sets within a folder will be sorted alphabetically by their file names. You can include the image timestamp in the filename to sort them by their capture time.
Creating a File Camera
To create a file camera from existing data, you can use the CreateCamera command. Use DeleteCamera to remove it again.
There are a few things to note when working with file cameras:
Because the image acquisition is done by reading the raw image files, you cannot choose any capture parameters. Most nodes below Parameters/Capture are not present or cannot be modified.
The Capture and Trigger commands simply load the next image set from the folder instead of grabbing it from a hardware camera.
Trigger loads the image data from disk, whereas Retrieve exchanges the image nodes in the NxLib tree.
The parameter ImageSet for the Capture and Trigger commands can be used to load a specific data set.
The nodes Parameters/ImageName, Parameters/ImageSet and Parameters/NumberOfImages provide information about the image files that were loaded by the last Capture or Retrieve command.